
Quick Picks
Short on time? Here’s what a working smart vent system needs:
- Flair Bridge (~$99) — Required hub, start here
- Flair Smart Vent 4x10 (~$99) — Most common floor register size
- Flair Smart Vent 6x10 (~$109) — Second most common size
- Flair Smart Vent 6x14 (~$139) — Larger returns and main rooms
- Flair Puck (~$179) — Room sensor, or use a compatible thermostat
Every house has that one room. The bedroom over the garage that never warms up. The office that bakes while the rest of the house is fine. The upstairs that runs ten degrees hotter than the thermostat downstairs claims. It’s not your imagination and it’s usually not your furnace — it’s that a single thermostat in a hallway is trying to speak for an entire building, and the ducts were balanced once, badly, in 1998.
Smart vents are the fix. They replace your existing floor, wall, or ceiling registers with motorized versions that open and close on their own, so the system can push air where it’s actually needed instead of dumping it evenly everywhere. Pair each room with a temperature sensor and you get genuine room-by-room control from your phone: 68 in the bedroom, 72 in the office, and no more space heater under the desk. With heating season starting, this is the upgrade that pays off all winter — and again next summer.
One thing to be upfront about: this category has consolidated hard. Keen Home, the other big name, is gone. Flair is effectively the only mainstream smart vent system still standing, so this guide is a guide to doing Flair properly — which components you actually need, what it really costs, and the cases where you should skip it entirely.
How Smart Vents Work (and What You Actually Need)
This trips people up, so it’s worth being precise. A smart vent on its own does nothing. A working system has three parts:
1. The vents. These drop into your existing duct openings — you pull out the old register and set the new one in. No drilling, no wiring, no ductwork. They run on batteries (or an optional power adapter) and open and close on command.
2. A hub (the Bridge). Every Flair home with Smart Vents needs a Bridge. It’s the networking device that connects your vents and sensors to your Wi-Fi and to the Flair app. Without it, nothing talks to anything.
3. A temperature sensor in each room. The system needs to know how warm each room actually is. That’s either a Flair Puck, a compatible smart thermostat, or a supported room sensor from ecobee, Nest, or Honeywell. If you already run an ecobee with room sensors, you may not need Pucks at all — which saves a lot.
The critical safety point: you cannot just close most of your vents. Restricting too much airflow raises static pressure in your ductwork, which strains the blower motor and can damage a furnace or heat pump. Flair’s software is designed around this — it limits how many vents close simultaneously and keeps a minimum open — but it’s the reason you should install these as a managed system rather than jamming shut every register in the house.
The Flair System: What to Buy
Flair Bridge — Start Here (Required)
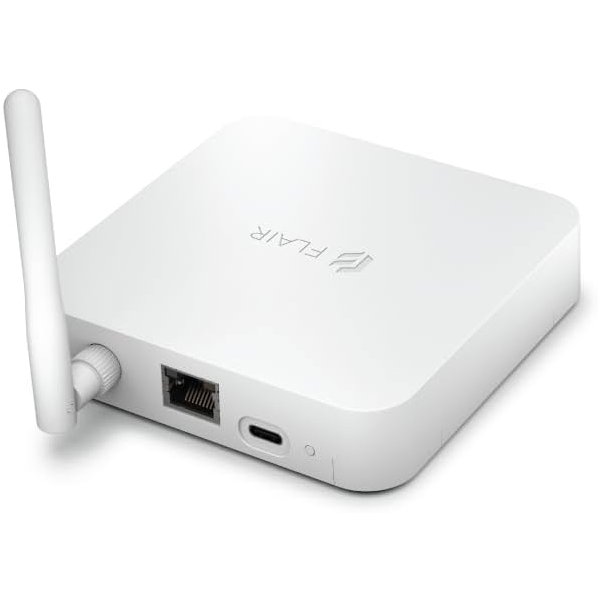
The Bridge is the piece people forget to order, then wonder why their expensive vents are inert. It’s the plug-and-play gateway that runs Flair’s hvacOS and connects every vent and Puck in the house. You can hang it on Wi-Fi, but it also has an Ethernet port — and if your router is anywhere reachable, use it. A wired hub is dramatically more dependable for something that’s coordinating a dozen battery devices in the walls of your house.
At around $99 it’s an unavoidable entry cost, and it’s per-home rather than per-room, so it gets cheaper the more you expand. Buy it first, get it on the network, and add vents from there. Flair also plays nicely with existing thermostats — ecobee, Nest, and Honeywell are supported — so the Bridge slots into what you already run instead of replacing it.
Pros:
- Required hub — one per home, not per room
- Ethernet option for a far more reliable connection
- Works alongside ecobee, Nest, and Honeywell thermostats
- Plug-and-play setup, no wiring
Cons:
- Mandatory extra cost before any vent works
- One more small box near the router
- Not useful on its own
Flair Smart Vent 4x10 — The Most Common Size
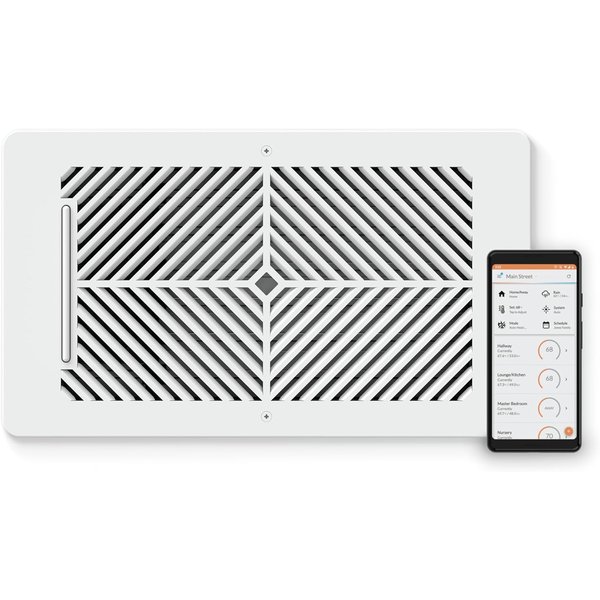
If you go measure your floor registers right now, a lot of them will be 4x10 — it’s the default in enormous numbers of American homes. This is the size most people start with, and at around $99 per vent it’s the cheapest entry into the lineup.
Installation genuinely is as simple as it sounds: lift out the old register, drop this one in, pair it in the app. It fits floors, walls, and ceilings, and the white finish disappears about as well as any register does. The thing to understand is that cost scales per vent — one is cheap, but a whole floor of them adds up quickly, which is why the smart play is starting with only your problem rooms rather than converting the entire house at once.
Pros:
- Fits the most common register size in US homes
- Cheapest vent in the lineup
- Tool-free drop-in install, no ductwork
- Works in floors, walls, and ceilings
Cons:
- Cost multiplies fast across a whole house
- Battery powered — expect periodic changes
- Measure before ordering; sizes are not adjustable
Flair Smart Vent 6x10 — The Other Standard
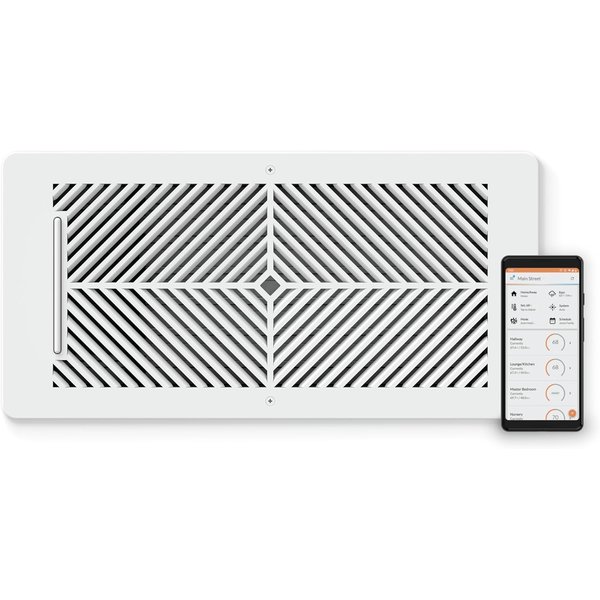
The 6x10 is the second size you’ll hit when you walk the house with a tape measure, and it’s common in living rooms and larger bedrooms where the duct run needed more throughput. At around $109 it’s a modest step up from the 4x10, and functionally identical — same app, same install, same behavior.
Flair also makes a 6x12 version, which is worth knowing about because a fair number of homes have that odd middle size and people assume they’re out of luck. If your measurements land there, the 6x12 Smart Vent covers it. Measure the duct opening, not the old register’s outer flange — that’s the mistake that generates returns.
Pros:
- Covers the second most common register size
- Same install and app experience as the 4x10
- 6x12 available for in-between openings
- Suits larger bedrooms and living areas
Cons:
- Slightly pricier per vent than the 4x10
- Still battery powered
- Easy to mis-measure — use the duct opening
Flair Smart Vent 6x14 — Bigger Rooms and Runs
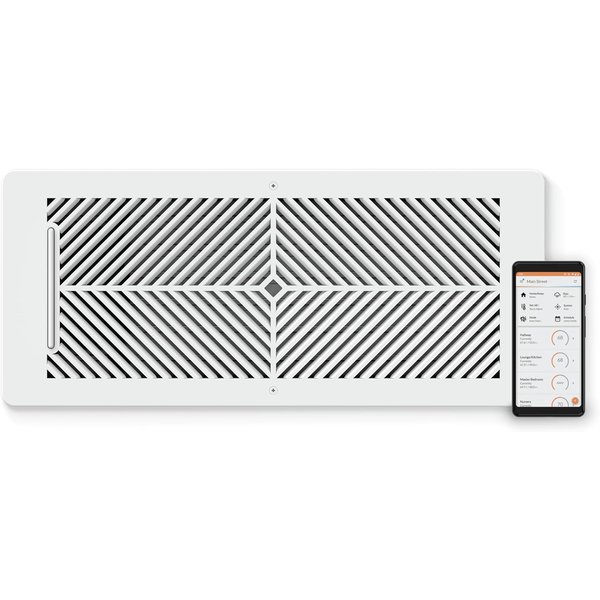
The 6x14 is the large-format option, and it’s what you’ll want for main living spaces and the bigger duct runs that feed them. At around $139 it’s the most expensive vent here, which makes sense — more opening, more mechanism.
If your problem room is the big open living area that’s always fighting the rest of the house, this is likely the size you need. It’s also the one where the payoff is most visible, because those rooms tend to be the ones the single hallway thermostat gets most wrong. Same drop-in install, same app control, just scaled up.
Pros:
- Handles large registers and main living spaces
- Biggest impact in the rooms that swing most
- Identical drop-in install to the smaller sizes
- Floors, walls, or ceilings
Cons:
- Most expensive vent in the range
- Overkill for small bedrooms
- Large openings can be more noticeable when closed
Flair Puck — The Room Sensor (or Skip It)
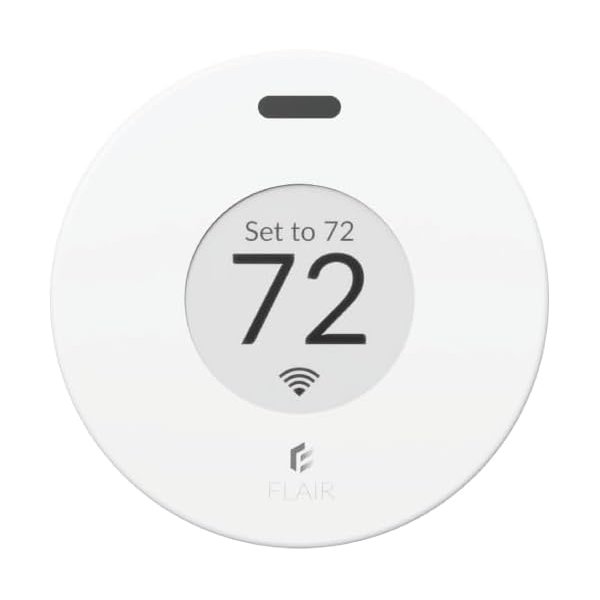
The Puck is how a room tells the system how it’s actually doing. It’s a wireless sensor and controller with a small display, it sets the target temperature for its room, and it’s also the piece that lets Flair control ductless mini-splits — genuinely useful if you have a mini-split in an addition or garage conversion.
Here’s the honest advice: at around $179 the Puck is the most expensive component in the system, and you may not need one in every room. Flair supports compatible smart thermostats and room sensors from ecobee, Nest, and Honeywell. If you already own an ecobee with a few room sensors scattered around, use those and buy Pucks only where you have no coverage. Working out your sensor plan before you order is the single biggest way to control what this project costs.
Pros:
- Per-room temperature target and sensing
- Also controls ductless mini-splits
- Clean display, wireless placement anywhere in the room
- Avoids buying a thermostat for every zone
Cons:
- Most expensive piece of the system
- Often unnecessary if you own ecobee/Nest sensors
- Costs multiply if you buy one per room
Smart Vent System Comparison
| Component | Role | Approx. Price | How Many You Need |
|---|---|---|---|
| Flair Bridge | Required hub | ~$99 | One per home |
| Smart Vent 4x10 | Most common register | ~$99 | One per vent converted |
| Smart Vent 6x10 | Second common size | ~$109 | One per vent converted |
| Smart Vent 6x14 | Large rooms/runs | ~$139 | One per vent converted |
| Flair Puck | Room sensor/control | ~$179 | One per room without a compatible sensor |
Prices checked at the time of writing and will move around.
A realistic starter build: fixing one problem bedroom means a Bridge, one or two vents, and a sensor — roughly $300–$380 depending on size and whether you already own a compatible sensor. Doing a full floor runs well into four figures. Start with the room that actually bothers you.
Should You Get Smart Vents?
Yes, if: you have central forced-air HVAC with ductwork, one or two rooms that are consistently wrong, and you’d rather fix the distribution than keep running space heaters and window units. It’s also compelling if you already own an ecobee or Nest with room sensors, because you skip the priciest component.
No, if: you have radiators, baseboard heat, or no ducts at all — smart vents physically cannot help you, and a smart thermostat or smart AC controller is the right tool instead. Also skip it if your HVAC is already undersized or straining, since restricting airflow will make that worse, not better. And if the whole house is uniformly too hot or too cold, that’s a thermostat or insulation problem, not a distribution one.
The cheap thing to try first: manually close the registers in the rooms that run too warm by about a third, and see whether the problem room improves. If it does, smart vents will do that automatically and far more precisely. If nothing changes, you likely have a duct, insulation, or sizing issue that no vent will solve — and you’ve spent nothing finding out.
If your issue is really one room rather than the whole system, a smart space heater is a much cheaper fix that solves the same complaint.
Frequently Asked Questions
Do smart vents actually save money?
They can, but comfort is the stronger reason to buy them. By not conditioning rooms nobody’s in and letting you raise or lower the whole-house setpoint without making one room miserable, they cut some waste. But you’re spending several hundred dollars up front, so payback is slow and depends heavily on your rates and layout. Buy them because that bedroom is finally comfortable, and treat any savings as a bonus.
Can closing vents damage my HVAC system?
Yes — this is the real risk and it’s why the system matters more than the vents. Closing too many registers raises static pressure in your ducts, which strains the blower and can damage a furnace or heat pump over time. Flair’s software limits how many vents close at once and maintains minimum airflow specifically to prevent this. Don’t replicate the effect by manually shutting most of your registers and hoping for the best.
Do I need a smart thermostat to use smart vents?
Not necessarily, but you need a temperature source in each controlled room. That’s either a Flair Puck, or a compatible smart thermostat or room sensor from ecobee, Nest, or Honeywell. Flair is designed to work alongside your existing thermostat, smart or traditional, rather than replacing it — so if you already have room sensors, use them and buy fewer Pucks.
How hard is installation?
The vents themselves are genuinely easy — remove the old register, drop the new one in, pair it in the app. No tools, wiring, or ductwork. The real work is planning: measuring every duct opening correctly (measure the opening, not the old register’s outer edge), setting up the Bridge, and deciding your sensor strategy per room. Budget an afternoon for a few rooms.
Are there alternatives to Flair?
Not really, and it’s worth being honest about that. Keen Home, the main competitor, is no longer a going concern, which leaves Flair as the only mainstream smart vent ecosystem with current products and active support. If you don’t want to buy into a single-vendor system, the practical alternatives aren’t other smart vents — they’re a better thermostat with room sensors, a mini-split for the problem room, or a smart space heater.
The Bottom Line
Smart vents solve a specific, common, genuinely annoying problem: one room that the thermostat can’t hear. If you’ve got ducted forced air and a room that’s been wrong for years, Flair’s system is the only real option and it works — a Bridge, a couple of vents in the right sizes, and a sensor per room. Start with a single problem room rather than the whole house, use existing ecobee or Nest sensors if you have them to avoid the priciest component, and measure your duct openings before you order anything. Do that and you’ll finally get the bedroom over the garage to behave — just in time for heating season.